
How to make your IPv6-only website available to IPv4-only networks in under 5 minutes?

We recently discussed the importance of IPv6-only networks and how you can really save money and reduce the use of IPv4 for a variety of hosting purposes. By introducing IPv6 to our services, we would be making a contribution and doing our part to help solve the problem of the shortage of unused IPv4 addresses.
Suppose you got motivated and signed up for a relatively inexpensive virtual machine from Scaleway for less than 0.40 EUR per month. And now you want to run a small website for your friends and family. The problem is that when you do so, some of them can't access your website because they don't have IPv6 access, maybe when they're not at home, when they're traveling, etc.
Now you are probably not happy about this situation, are you? And the whole purpose of benefiting from an IPv6-only server is now coming back to haunt you. Not to worry, there is a very simple solution.
While this quick fix isn't limited to any particular DNS solution that we're about to discuss, for the purposes of this post we'd go with the popular Cloudflare DNS. It provides a DNS proxy for A, AAAA and CNAME records. Cloudflare calls these DNS records as Proxied records. Once enabled, Cloudflare would manage the route through a proxy for IPv4-only users trying to reach your IPv6-only web server.
This also paves the way for Cloudflare to protect your original server from malicious traffic such as DDoS by standing in the way. Note that this does not make you anonymous as a host. By providing the appropriate DNS records, Cloudflare manages things like security, performance, availability, etc. This is how their network works.
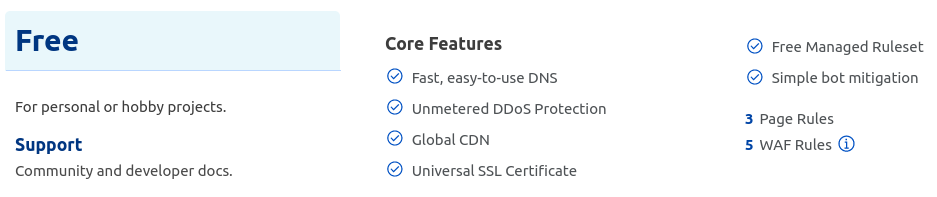
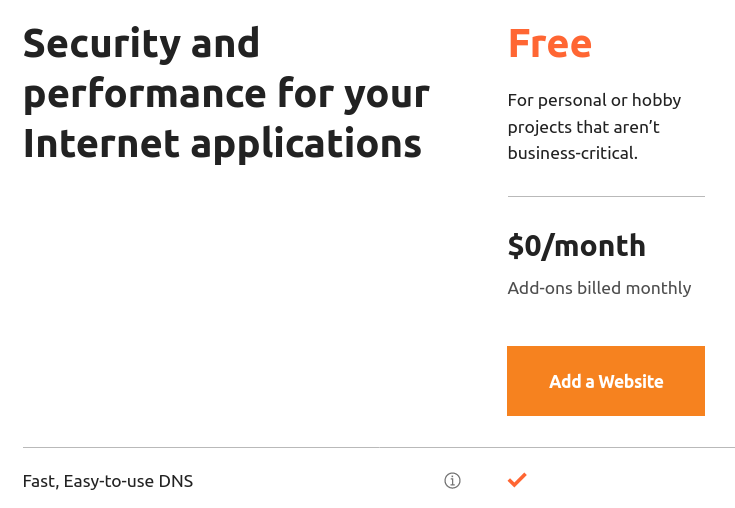
This also provides additional benefits that come with Cloudflare's free DNS, such as much faster DNS record propagation and a simple yet robust firewall to manage access rules to your server or website in this case.
Sign up for a Cloudflare account.
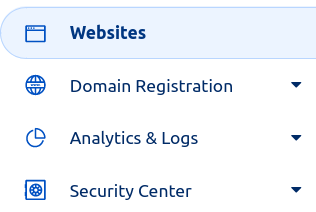
Log in to your Cloudflare account to navigate Websites section from left
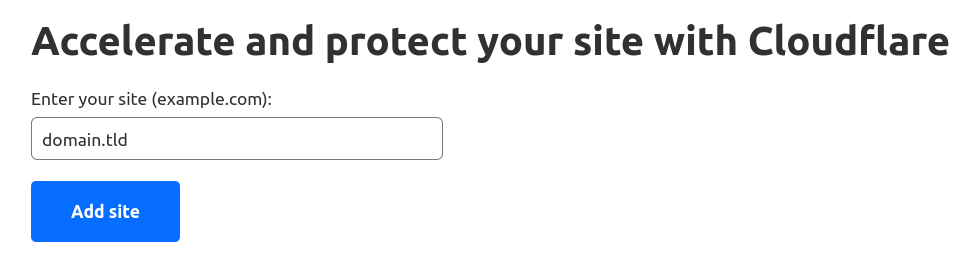
Add your domain.tld to it
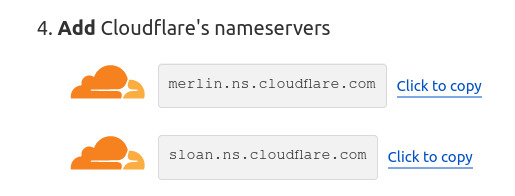
Delegate your domain's nameservers to Cloudflare's name servers in your domain registrar's panel
Once you have done this, simply add the AAAA record to the DNS records section and enable the DNS proxy

You see the 'orange-cloud' like icon, it means the DNS record has been proxied now.
By default, Cloudflare only proxies HTTP and HTTPS traffic.
When the AAAA DNS record is up, wait a bit for the DNS records to propagate and confirm the NS record for your domain.tld on the desired IPv4-only network.
$ dig domain.tld NS +short
merlin.ns.cloudflare.com.
sloan.ns.cloudflare.com.
Once this is done, you can ping the website over the IPv4-only network and try to access it from a web browser using an IPv4 address.
$ ping -4 domain.tld
PING domain.tld (172.67.73.160) 56(84) bytes of data.
64 bytes from 172.67.73.160 (172.67.73.160): icmp_seq=1 ttl=57 time=136 ms
64 bytes from 172.67.73.160 (172.67.73.160): icmp_seq=2 ttl=57 time=162 ms
64 bytes from 172.67.73.160 (172.67.73.160): icmp_seq=3 ttl=57 time=184 ms
64 bytes from 172.67.73.160 (172.67.73.160): icmp_seq=4 ttl=57 time=209 ms
When configured properly, it should work fine. You have now successfully configured access to your IPv6-only web server for users on an IPv4-only network.
The whole process took me no more than 5 minutes, not including the time it took to propagate the nameservers DNS records to Cloudflare's DNS globally.