Manage Home Lights in Smart & Open Source Way: HomeAssistant and Zigbee

Many years ago, smart homes were common and popular only in science fiction movies or books, but thanks to advances in technology and electronics, it is now available to everyone and won't be a black hole in your pocket anymore. The tech giants like Apple or Samsung started to invest in their ecosystems around smartphones and tablets, so we can integrate thousands of devices together: sensors, thermostats, smart speakers and many more.
Why do we need to invest in smart home today? Let's give the advanced answer in a few points:
- Convenience: control various devices and appliances with automation and create several scenatious for "what can go wrong here" moments.
- Security: smart locks, cameras and alarms will add extra protection level for your home and office.
- Energy savings: smart thermostats and lighting can reduce energy consumption and lower utility bills.
- Comfort: Automatically adjust temperature levels, lighting levels, and entertainment systems to live more comfortably.
- Remote access: Monitor and control your home or office from anywhere using a smartphone or other device, and forget about leaving lights or electrical appliances on.
- Save time: schedule automations to handle boring routine tasks and free up more of your personal time for more important activities: family, relaxation, sports.
- Integration: Connect multiple smart devices and systems for seamless interaction and monitoring.
- Property value: Smart homes can be much more attractive to potential buyers and sell for higher prices.
- Healthcare: Improved air quality, temperature control, and lighting can contribute to better health, well-being, and longevity.
- Accessibility: Smart home technology can help make homes more accessible to people with disabilities or mobility issues.
- Entertainment: Connected smart speakers, TVs, and streaming devices can provide a more immersive and personalized entertainment experience for the entire family and potentially help combat depression.
Why HomeAssistant?
You can of course choose another solution from Google, Apple or Samsung, but we strongly recommend starting with HopeAssistant. Why is that? First of all, this post isn't affiliated with any vendor - truly independent and neutral look at things, as it should be. We really believe in the power of HomeAssistant as a free, open source solution that can be improved and adapted to any needs. Adapting third-party hardware to work with a proprietary system like Amazon Alexa is difficult, so this is the moment when open source rises and shines!
Installation
First, we need to think about the device on which the HomeAssistant will be installed. We have a lot of different options, including X86 and ARM devices like these
- Raspberry Pi (4th, 5th or later)
- Dell Wyse
- HP SFF (Small Form Factor)
HomeAssistant is a large project with many configuration options, so we will only cover the basics to get things up and running: Zigbee smart lighting setup with useful daily automations. HomeAssistant is an open source project started by Paulus Schoutsen with the aim of combining many data sources, while keeping a significant part of it within our local networks. The ownership of the project has been transferred to the Open Home Foundation, which also manages other projects such as ESPHome. The Foundation's role is to act as an ethical watchdog, preventing projects from moving away from their intended path.
Zigbee is a low-power, low-data-rate wireless communication standard suitable for device-to-device communication in a variety of applications, including home automation, industrial control, and Internet of Things (IoT) devices. It is based on the IEEE 802.15.4 standard and features mesh networking capabilities that allow devices to communicate directly, eliminating the need for a central hub or router.
Raspberry Pi
You need to grab a model higher than A 'cause more RAM is needed to install HomeAssistant. Then you need to pick a microSD card, better grab one with the A2 label. And don't forget the Ethernet cable - you only need it for the installation, then you can use Wi-Fi. Download this image, run the Raspberry Pi Imager and select Choose OS -> Other specific-purpose OS -> Home assistants and home automation > Home Assistant -> OS and Storage -> Next. After that the SD card is ready to use.
The advanced guide is available here.
x86 - mini PC
64bit device with UEFI support is required. The recommended OS is Ubuntu, you can download the ready image with HomeAssistant. Write the image to your drive with balenaEtcher, reboot and wait 30-60 seconds, then you should see HomeAssistant interface.
To get the advanced installation guide - click here.
Virtual machine instance
First of all, download the image you like:
Then, create a virtual machine with 32 GB of disk space and 2 GB of RAM, which are the minimum requirements.
Check the advanced guide here.
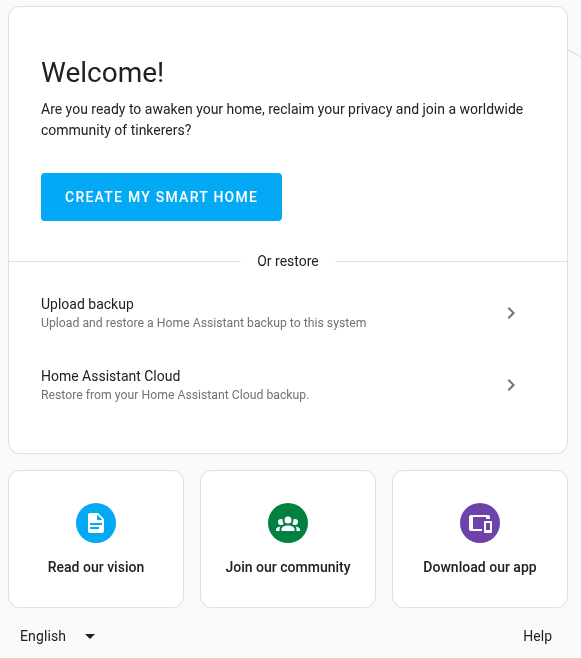
If all installation steps have been completed correctly, the next interface will be displayed on thehttp://homeassistant.local:8123/ website:

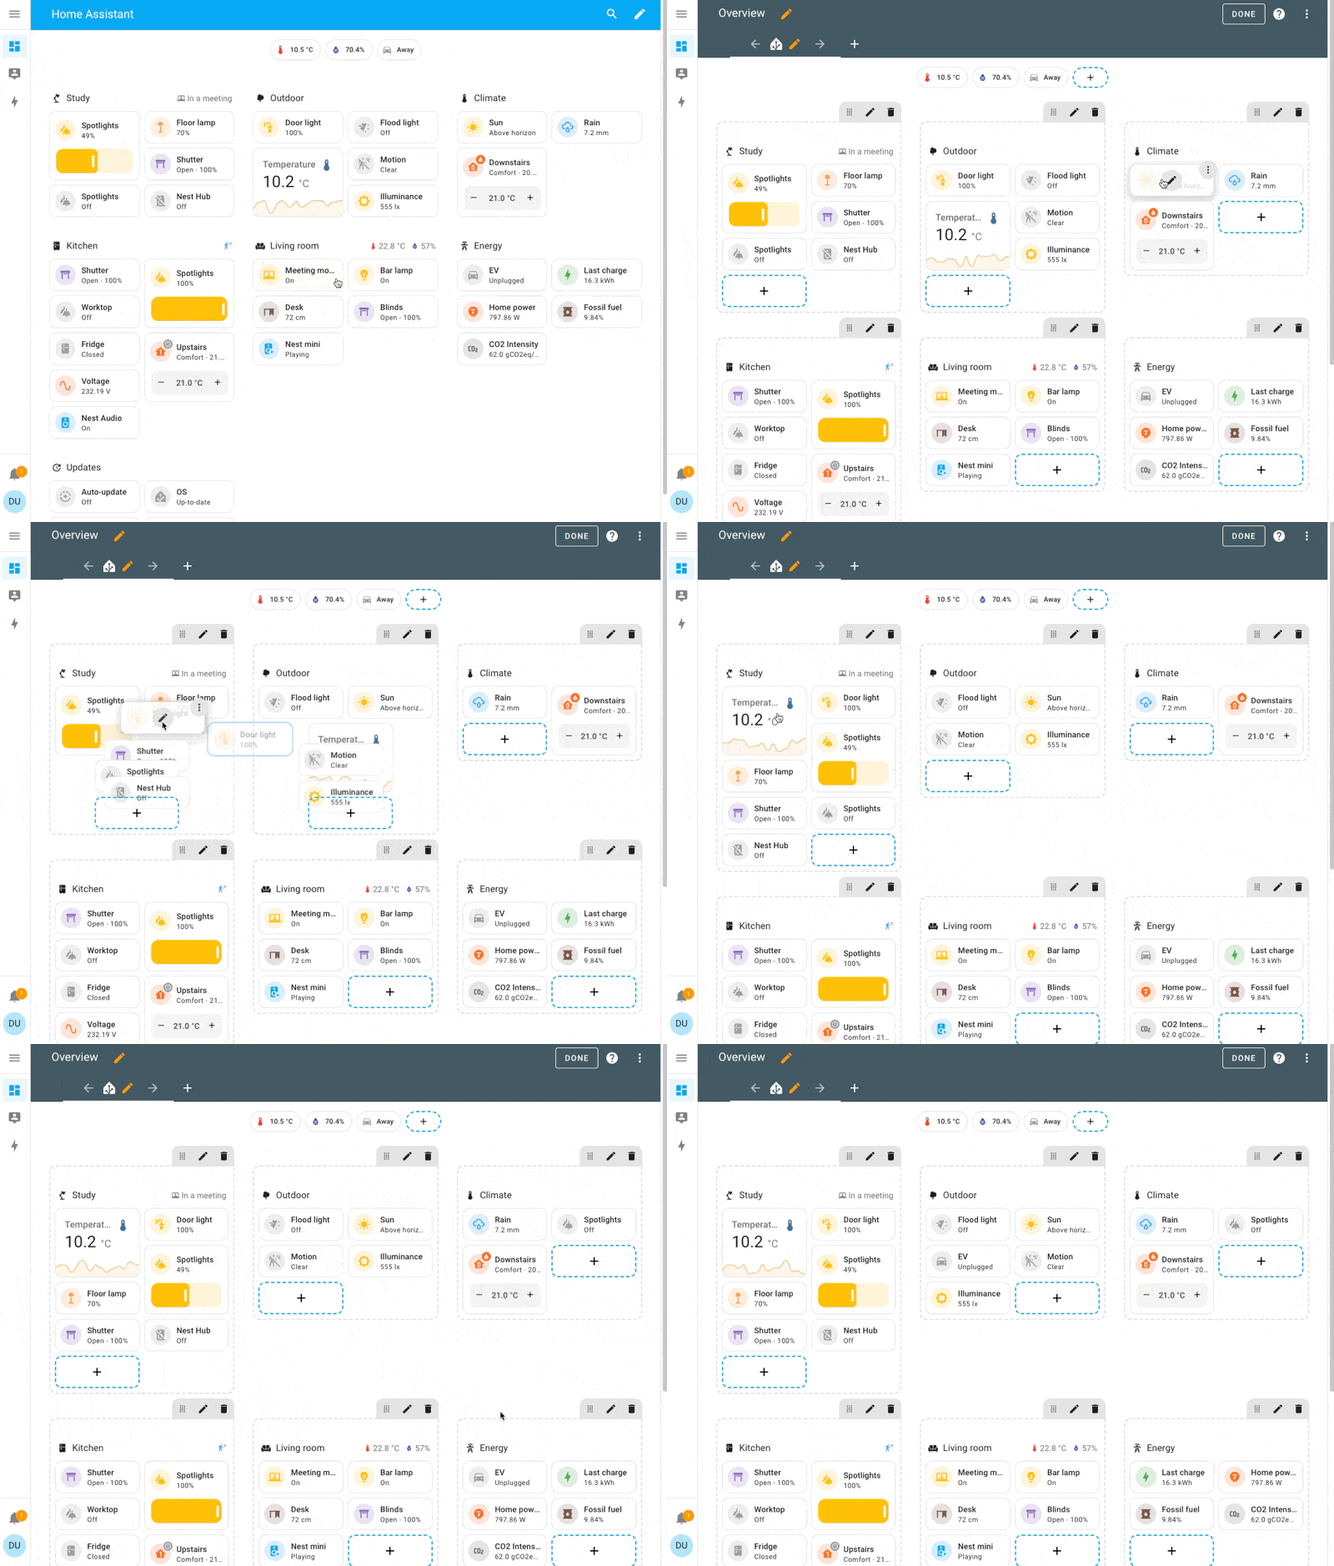
Dashboards

We should also say a few warm words about Supervisor: it manages the OS, provides updates and runs containers that interact with Home Assistant. To simplify access, it will be great to set up a static IP address: it can be easily done in Settings -> System -> Network. Backups and hostname settings are in the same place. Useful add-ons can also be installed from the Settings menu:
- AdGuard Home DNS.
- Node Red.
- MySQL database.
- Frigate.
- PiHole.
Used system resources can be found in Settings > System > Hardware, disk usage in Hardware, and finally Logs are useful for debugging purposes.
Lamps
The most popular integration standards are Zigbee and Z-Wave. We can debate a lot which is the best, but let's stop on budget - Z-Wave is expensive and this point is important for many people. Let's try to recommend few solid devices:
- Philips Hue Smart A19 Led Bulb - solid popular brand, working well, you may get regular firmware updates.

- THIRDREALITY Zigbee Smart Color Bulb ZL1 - working very well according to HomeAssistant forums

Zigbee setup
Connect your Zigbee dongle, go to Settings -> Devices and Services -> Add Integration button -> ZHA -> Controller Type -> Submit. On the next screen select 115200 baud rate, hardware flow control and /dev/ttyUSB0 for serial port.
To connect to your lights HomeAssistant needs Zigbee controller and two integrations - ZHA or Zigbee2MQTT. Let's choose the latter and install it using Docker:
# create directory to save addon data
sudo mkdir -p /docker/Zigbee2MQTT/data

# download Docker config and tweak it if required
curl -LO https://raw.githubusercontent.com/Koenkk/zigbee2mqtt/refs/heads/master/docker/docker-compose.yml

# run the services
cd /docker/Zigbee2MQTT
sudo docker compose up
Time to check the container - just open https://YOUR_IP:8080 in your browser. Go to Settings > Home Assistant Integration and set MQTT server, login and password. Now we can add new devices - check top menu for option "Permit Join" and enable it, also enable pairing mode. Wait a minute and you should see all Zigbee devices around.
Then go to HomeAssistant -> Settings -> Devices And Services -> Zigbee Home Automation -> Add Device. If the device was successfully paired, you will get a list of devices - just click on the right one. All this procedure looks like a bit advanced Bluetooth pairing, but nothing extraordinary.
Home Lights automations

We had to work a bit to get to this chapter! But now we have a lot of options to customize our home lights and other devices compatible with HomeAssistant.
All automations use the simple approach: TRIGGER (something happened) and ACTION (oh, then we need to do something!). They can all be combined with OR and AND logic. As in the most popular example: 8PM happened - activate the first and second lamps.
Turn on lights after sunset before sunrise
If you have a room with Zigbee lamps, it's very useful to activate them after sunset, but not all the time - no sense in lamps when nobody is in the room or sunrise has just happened. We need two sensors: HA sun tracking and Ikea Tradfi motion sensor.
- Go to
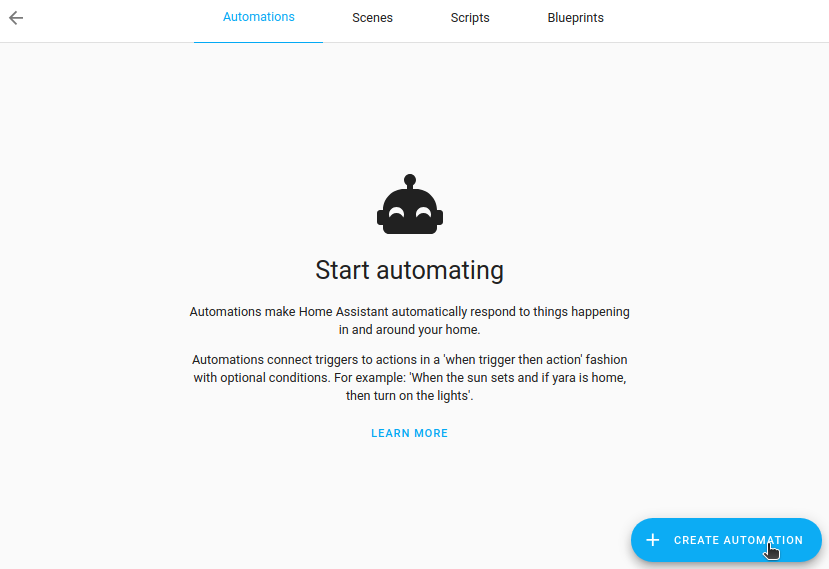
Settings -> Automations & Scenes -> Create Automation -> Create New Automation - Trigger option:
Device option -> select your sensorand enable moution detect. Add Condition -> Sun -> Before Sunrise and After SunsetThen Do -> + Add Action -> Select Device -> Turn onBuilding Blocks -> + Add Action -> Wait For A Trigger -> + Add Trigger -> pick device and sensor -> motion not being detected -> 30s- Click
Save.
The automation page will look similar to this one:

Now it should work! Some ideas for building more complex automations:
- Trigger can have a personal ID, so it's easier to reuse them.
- Use a Building Block for ready set of complex actions.
- Logic like AND or OR - really useful in complex cases.
Notes on the finish line
HomeAssistant is super useful for many types of automation, and home lighting is just a small part of it - many more sensors and controllers can be added. Nowadays its interface is much simpler than 2-3 years ago and the progress is still rolling.Yes, it can be complex for some people - they are free to go to Apple or Samsung ecosystems. Having a project as big as HomeAssistant open source is fantastic, and we highly recommend giving it a try at least once.


